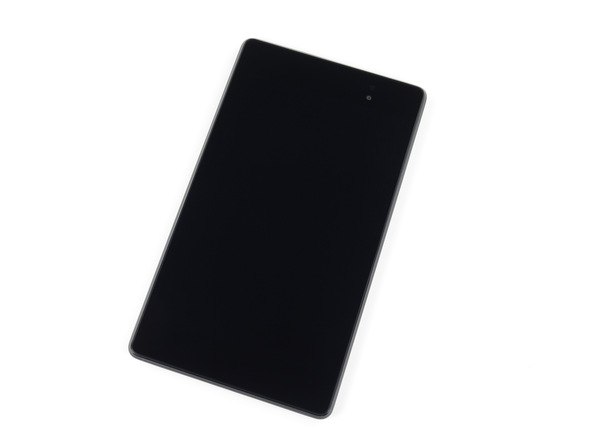
iFixit dissembles the recently revealed Nexus 7 II tablet
The new generation Google Nexus 7 tablet has been officially announced a few days ago. Are you excited to know what works under the hood of the high-end tablet… literally inside the device? If yes, you will like a lot the described dissembling of the tablet. The team of iFixit satisfies our curiosity about the architecture of Google Nexus 7 II by revealing the inside of the device.
What does Nexus 7 II have to offer? According to iFixit, it has been relatively simple to dissect. The new addition to the Nexus line sports a renovated body compared to its predecessor. Nexus 7 II is slimmer and taller compared to the first Nexus 7 tablet. It has a narrow design and does not feature the back panel that we have seen in its sibling. The new tablet is provided with a primary camera on the back and three grilles for the stereo speakers that we can see in the pictures of the dissembled device.
The team of iFixit has opened the panel with plastic prying tool. The next step of the dissecting of Nexus 7 II have been to remove the inside components one by one. When the back side is removed, the first thing that can be seen in the tablet is its battery. We have also spotted the inductive charging coil for the promised by Google wireless charging. Taking out the battery will void the warranty, so think twice before you do it, in case you are curious to explore the inside of your new tablet.
The removing of the battery is not an easy task. The glue that has been used to attach the battery assures pretty solid connection. After the battery is taken out, the next are the motherboard and the daughterboard which are relatively easy for removing. The next components are the two cameras of Nexus 7 II.
After the two boards are removed, the next components are the speakers, followed by the antenna for Wi-Fi. The conclusion of iFixit is that Nexus 7 II is relatively easy to open and repair. The need for the usage of plastic prying tool has caused a little damage of the back side of the device. The strong glue used for the attaching of the battery required more adhesive technique for the removing of it which resulted in little issues with the battery after this.
Did you like what you see on the photos and the descriptions by iFixit? Your opinion is important, please share with us.
Source: Ifixit


